We needed a dresser for our master bedroom, and I’ve been looking for one for a while now. I finally found one with the “french flair” style I have been looking for. I have seen some french provincial ones at my local antique stores for around $600., but they had been refinished already and a higher price than I wanted to pay. I was on the look out for a cheaper one that I could redo myself. I’ve also been watching craigslist, let go, and offerup, but with no luck finding one. I found this one at my local antique store that wasn’t in perfect condition, but it was untouched and needed some love and that’s exactly what I was looking for. The asking price was $200., but I asked if they would take $150. for it since it needed some TLC.
She excepted my offer of $150., and so my DIY project dresser transformation begins. That’s what I love about working on pieces of furniture… I love watching the transformation!!! I forgot to take a before pic of the dresser before I got started. I always get so excited about getting started that I forget, and the top of it was in the worst condition too. It had been colored on and nail polished on etc., but I guess that’s why I started there first;)


I used General Finishes paint ~ Seagull Gray color.

The small drawer faces were missing a few knobs so I took them all off, and I found some older looking glass knobs at Hobby Lobby that I liked. They were 1/2 off at Hobby Lobby:)


After the gray paint dried I used Amy Howard one step paint. I used the French Blue color. I dry brushed this color on unevenly, and I intentionally put it on here and there. I didn’t want to cover up the gray color completely.


I used a translucent glaze on top of the paint. I used the color ~ raw umber. You can find glaze at your local home improvement store. I just used one that I already had at home for this project. You can see in the above pic the difference the glaze color made – it’s only on the top of the dresser in the above picture. I rubbed it on with a sponge and went right behind wiping some off with a rag. I wanted it on more heavily in the cracks and crevices to give an aged look. I also lightly sanded the edges to give it a little distressed look. It just adds to a natural, over time, worn piece of furniture look that I was going for.


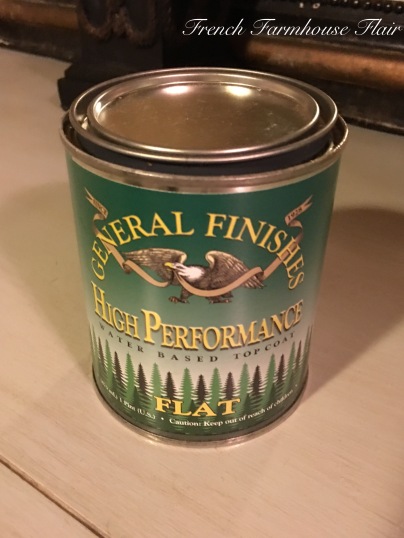
After letting it dry overnight ~ I put on a clear coat of General Finishes High Performance water based flat top coat. This in my opinion really gives it the finishing touch.
Here it is… the finished project:)

I was pleased with how it turned out. It was time consuming because of all the layering steps I did with this piece, but well worth the extra time spent to get the end results. Let me know what ya think. Stay tuned for my future blog post on my antique gold cherub lamps from Goodwill, and my antique French Louis Phillipe mirror from France.
Until next time,
Jessie Jo

Excited to see the results!
LikeLike